
Originally on Blogger 6/24/11
30 Days of Creativity Day 15: Swarovski Anklet
I saw someone with an anklet that was different than the ones I had. As I love beads (especially Swarovski crystals and natural stones) I have several anklets made of each. I have had anklets made of chain in the past (before my beading days) but I must have broken them all.
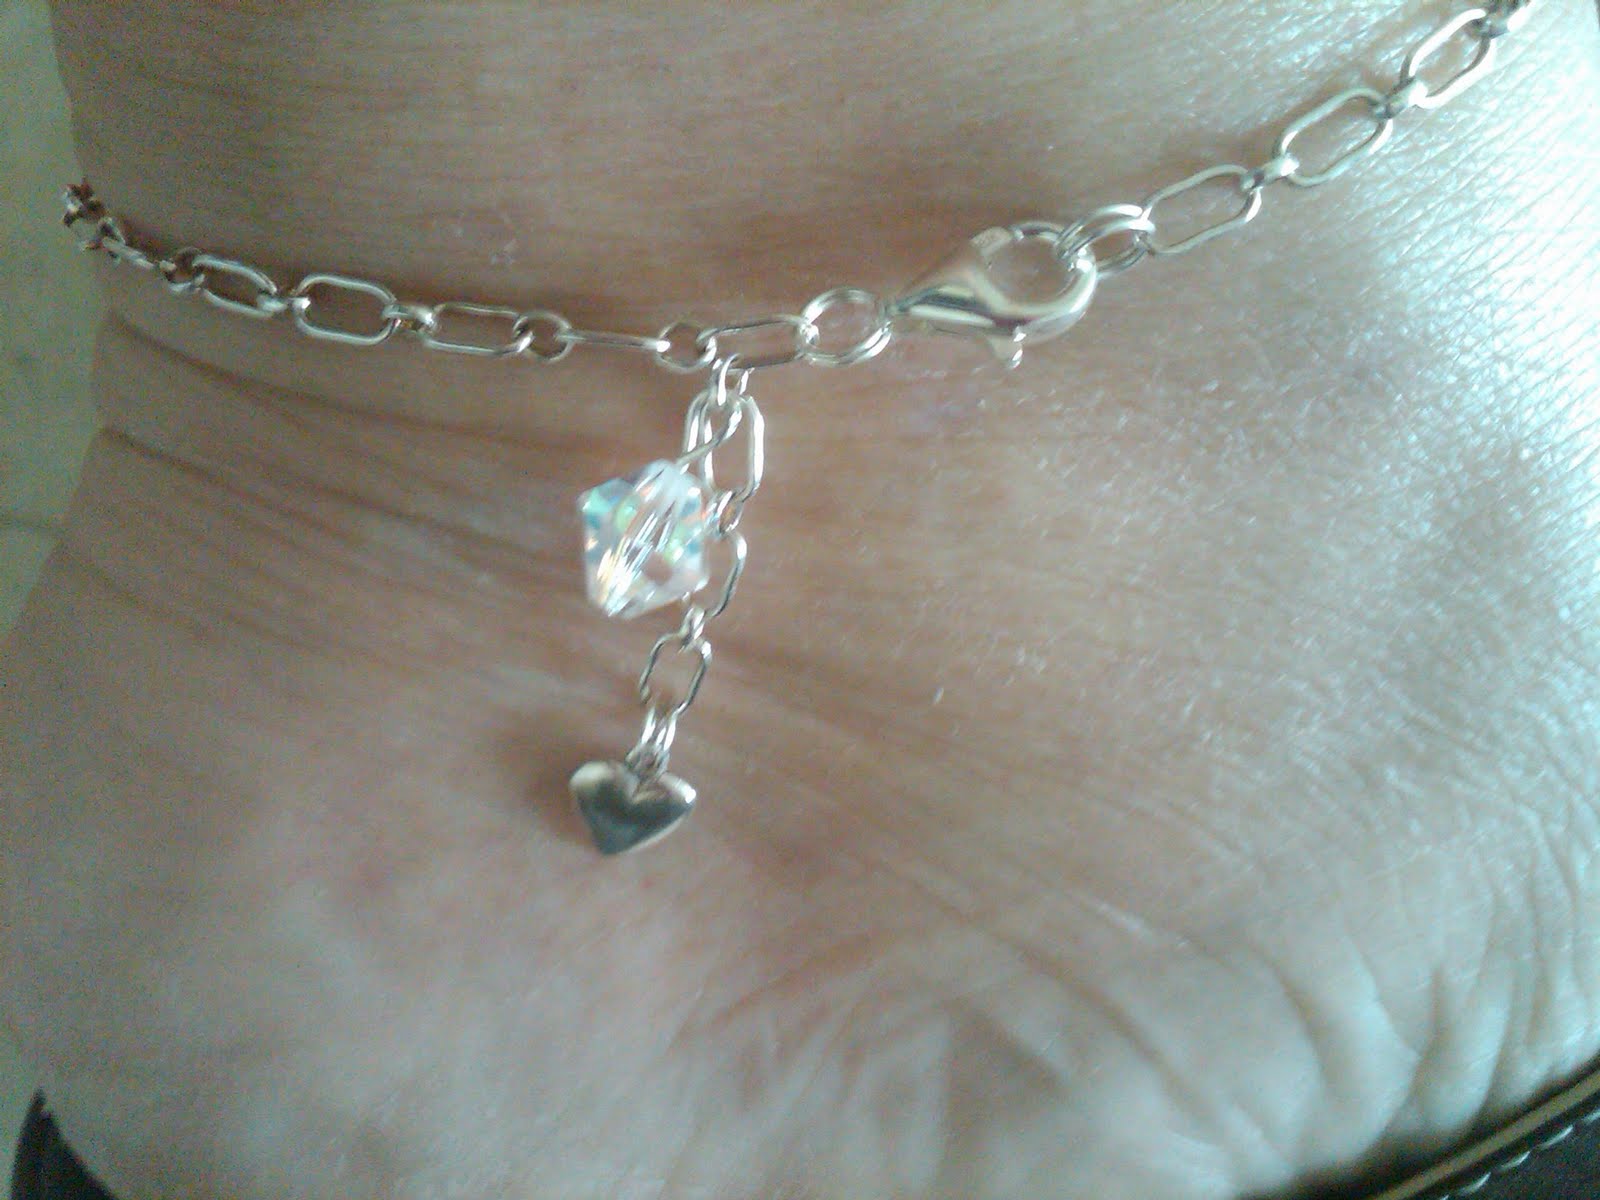
This anklet was different because instead of simply circling the ankle, it had a chain section dangling with a charm on the end of it.
If you have some beading skills or get a little help-this is a pretty easy project.
Materials/Tools
sterling chain 2 inches longer than ankle width
3 or more split rings
sterling clasp
charm
accent bead
headpin
split ring tool (if possible)
cutter pliers
round nose pliers
chain nose pliers
Directions:
I don’t know that I will ever claim to be an expert at anything but I am pretty quick and sensible on projects. I will tell you how I went about the process-it does mean it is the only way to do it.
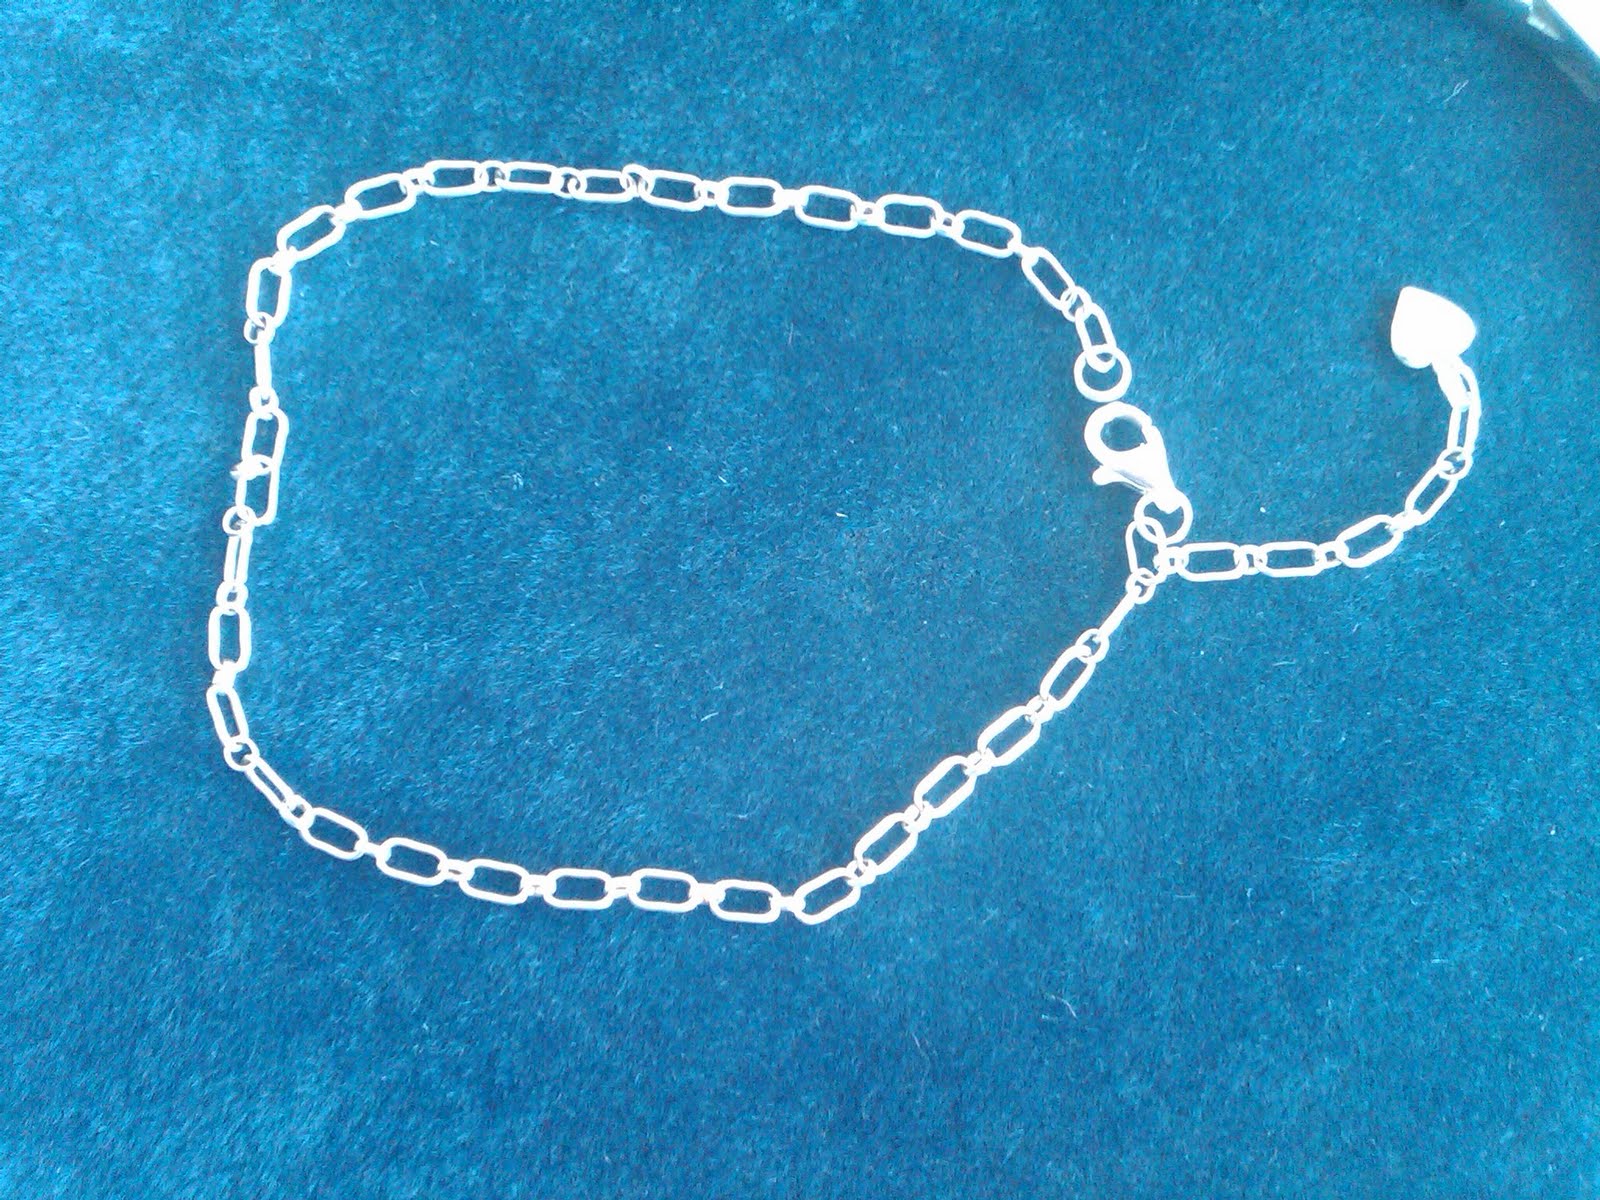
First I connected my lobster class to a split ring. I connected the split ring* to one end of the chain. This is one end of my anklet.
Then I put the chain around my ankle as if I was going to wear it, and made note where I wanted to fasten the lobster claw. I attached a split ring to the chain at that spot. If you have a split ring tool it can be a great help. Now I had a chain with a clasp with loose chain dangling. I attached my heart charm at the end of the long dangling piece of chain.
I wanted to add a Swarovski crystal for a little sparkle. For this I needed a headpin and the crystal. I put the crystal on the headpin and bent the headpin over at the top of the crystal-leaving about 1/4″.
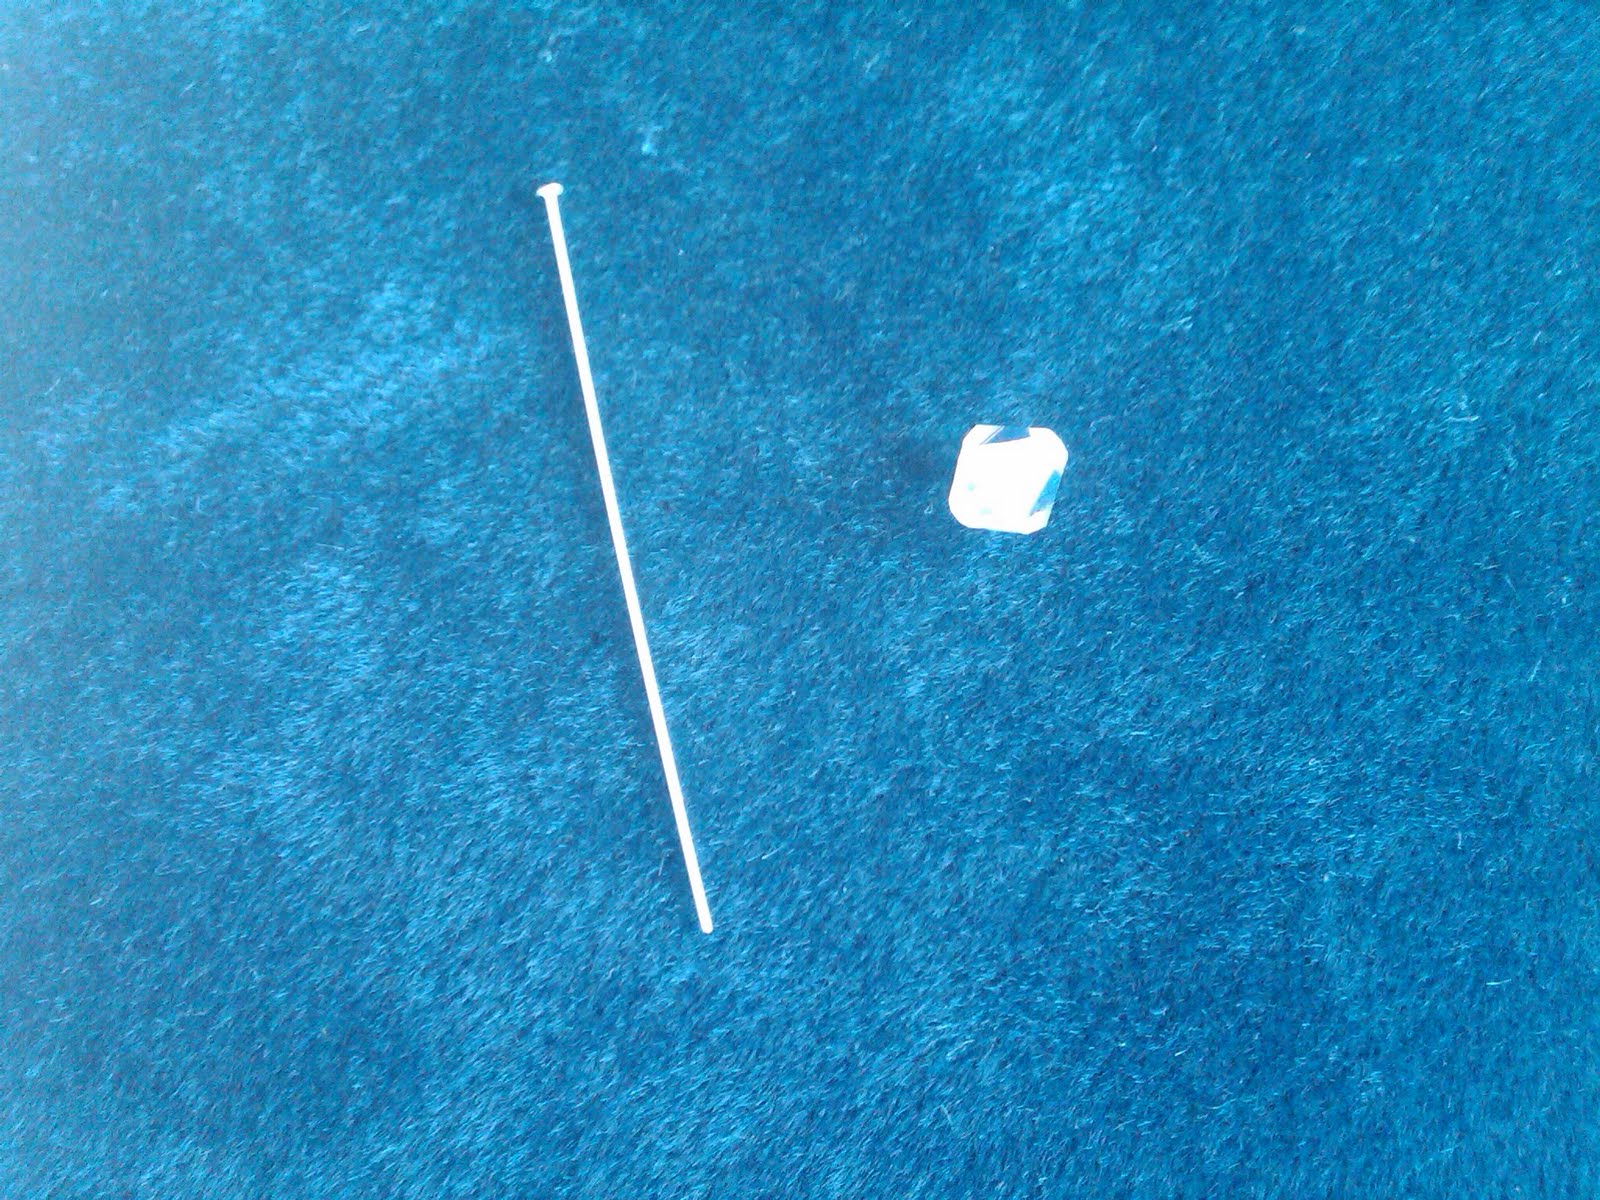 |
| Headpin and crystal. |
 |
| Crystal with bent and cut headpin. |
 |
| Crystal with loop-ready to attach. |
Taking the round nose pliers, I made a loop on the crystal so that I could attach it to the chain.
After that, it was just a matter of adjusting and I changed things many times: the length of the chain, placement of the bead, etc. In the end the dangling chain was about 1.5 inches. The bead was connected at the same link of the chain where the dangle started. That is where it looked best.

*If you are not familiar with split rings, they are a finding used to connect pieces in jewelry making. The best way to describe them is to say they look like a key ring-several loops. A jump ring would only be one loop. While you can buy soldered jump rings, most have an opening as you need to open them to attach. I prefer split rings as the several loops add more strenght. Also, if your chain/charm/jewelry gets snagged, it takes a lot to toally have your piece pulled apart. Usually I can feel it happening and am able to save the piece because the split ring takes a bit to completely uncoil.